When it comes to finding the perfect base, makeup artists and beauty editors agree that foundation is the one product in your kit worth investing in. Don’t misunderstand – makeup products needn’t cost the earth. Yet, it’s imperative that you find a superb product that works for you.
Foundation does not merely conceal tired eyes, redness and blemishes, the right product also offers flawless coverage with #nofilter needed.
Your options are endless. However most foundation formulas fall into the following tiers; liquid foundation, stick foundation, powder foundation, tinted moisturises and bb and cc creams.
With the current number of shades, finishes and coverage levels available, your choice of foundation is just as customisable as your morning latte. And that’s exactly what makes it one of the toughest make-up products to buy. Not to mention the stress that ensues when you’re faced with finding the right foundation for your skin tone.
Regardless of whether you’re a full coverage girl or prefer the no-make-up make-up look – we’ve got you covered (pun intended). Here, the best foolproof tips for long wear foundation application.
1. Find the right shade
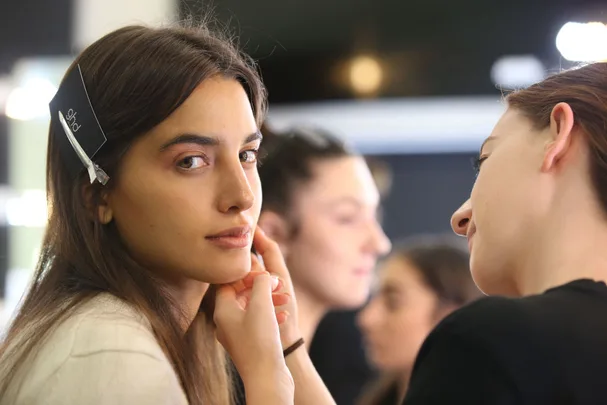
“The only way to choose the right foundation shade is to try it on your skin…. And when I mean skin I mean your face,” says celebrity Nude by Nature Makeup Artist Max Made, best known for creating high-fashion looks for celebrities such as Jesinta Franklin and Elyse Taylor.
“So many people colour trial on the back of the arm or neck and all these other crazy places but the only way to truly trial is to put it on your face.
“From there, you want to get a good visual of it in as many different lights as possible but mostly natural light – that is the truest light.”
2. Play to your skin type
A diligent skincare routine will nix the majority of imperfections. So, regard your base as an extension of your daily regimen. The true test of finding a consistency that compliments your skin type is to determine whether you have acne-prone, sensitive, combination, dry or normal skin.
Next, conduct a mini-experiment and let the product sit for a few hours. If you have an oily complexion, certain foundations can slide right off while dry skin types risk looking patchy and flakey.
Foundations, as a rule, aren’t designed to cover breakouts, so don’t worry if they’re still visible after you’re done blending. Just dab concealer over the areas that need a bit more coverage, wait a few minutes to let it set, then blend the concealer in with your sponge.
RELATED: The Best Concealers For Faking Perfect Skin
3. Master the makeup sponge
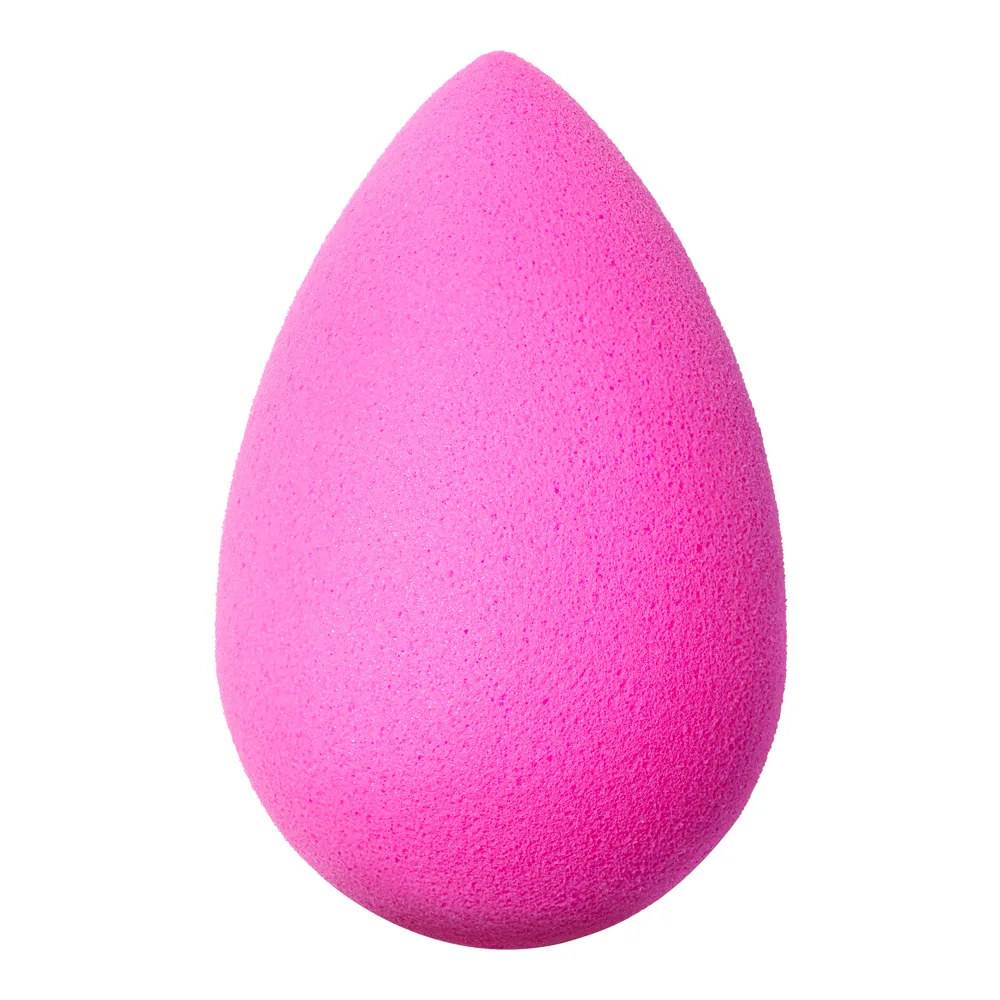
There few products, which revolutionised the way we apply our make-up quite like the original beautyblender sponge.
The neon pink, teardrop-shaped sponge arrived on the scene at the same time Kylie Jenner and Kim Kardashian made us all aspire to take the perfect selfie. The versatile tool has become ubiquitous both among celebrity make-up artists and everyday people–just try to find Youtube tutorial without one.
beautyblender innovator, Rea Ann Silva, advises that the sponge was always designed to be used wet. Before using it each time, run it under a tap and then squeeze out the excess water so that you’re left with a damp and plump sponge, before dipping it into your makeup product. This way it won’t soak up any excess product, and instead will transfer your foundation smoothly and seamlessly to the skin.
Begin by dapping the foundation directly onto the center of your face and work outward in circular motions. Finish by repeating the process with a loose powder for budge-proof coverage.
Try: Beautyblender Original ($38; at sephora.com.au)
4. Or Try One Of These Foundation Applicators
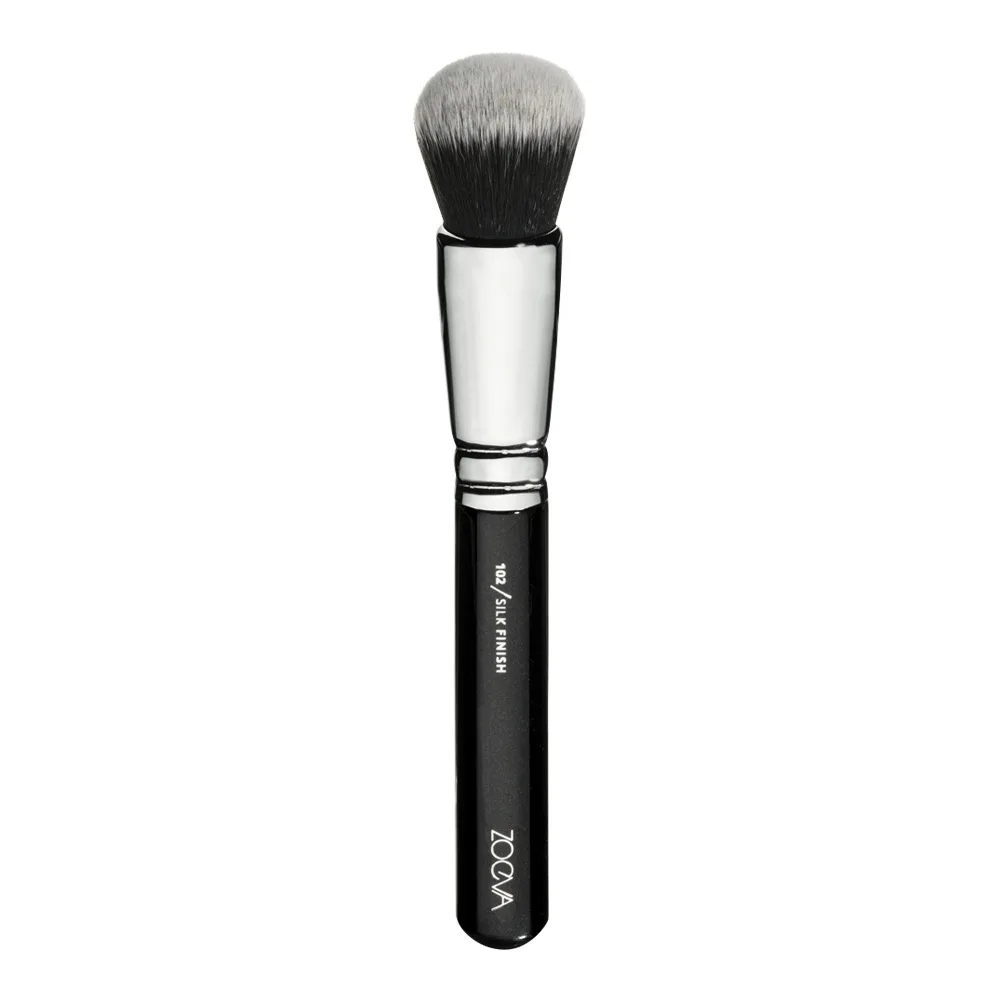
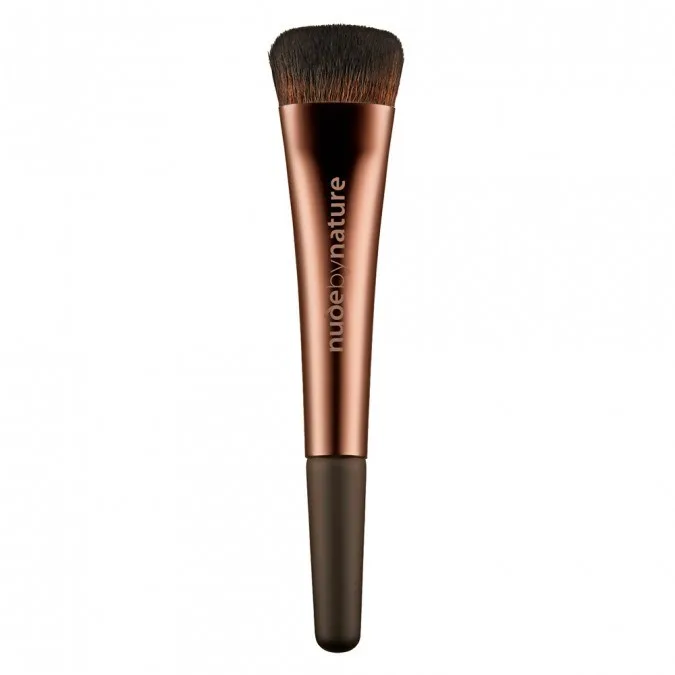
While using a foundation brush for your liquid makeup is optional – a sponge or clean fingers are fine – you absolutely need an applicator for mineral or powder foundation. Cue: the foundation brush.
Typically these have dense and can be pinched flat (like a paintbrush) or full, rounded, and dome-shaped. Synthetic bristles (which are easier to clean) are ideal liquid formulas whereas natural bristles (which are more porous) are best for powders.
Try: Zoeva 102 silk Finish Brush ($28; at sephora.com.au)
Try: Nude By Nature BB Brush ($24.95; at priceline.com.au)
5. Embrace setting powder
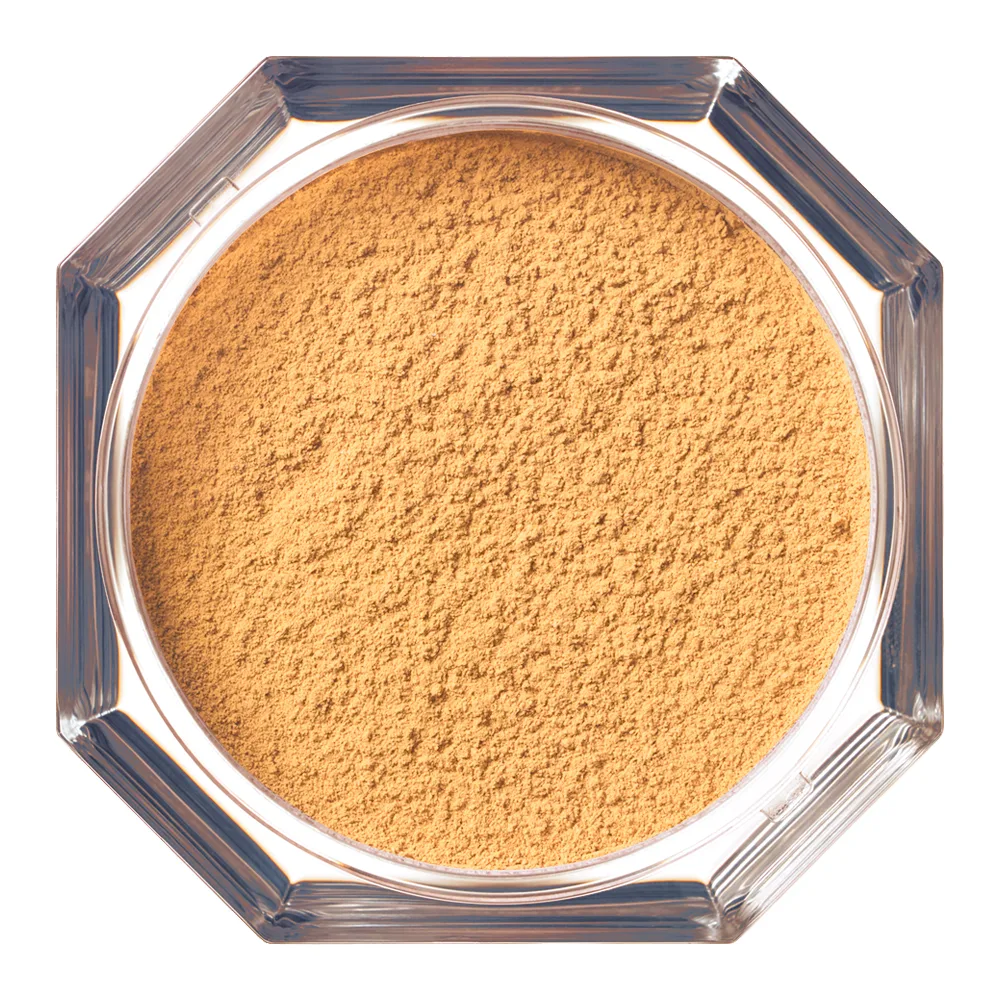
Fenty Beauty Global Artist Priscilla Ono advises that oily skin types should apply a setting powder to the t-zone after using a medium coverage foundation.
“Strategically apply powder where you would get greasy, oiling or you would need setting like concealer wise. I personally don’t like putting powder everywhere because then it gives you that over-powdery look. We still want the skin to look really fresh.”
Try: Fenty Beauty Pro Filt’r Instant Retouch Setting Powder ($44; sephora.com.au)
6. Highlight
For a natural finish, Max suggests playing up the high-points of your face with two shades – it’s like contouring but a more subtle way of creating dimension on camera.
“It’s all about enhancing the curves and structure of your face. A gentle smattering of creamy highlight on the inner corner of your eyes and of course your cheekbones will go a long way to enhance your features.” This expert tip will also take the focus from problem areas such as the chin and forehead.
7. Setting Spray
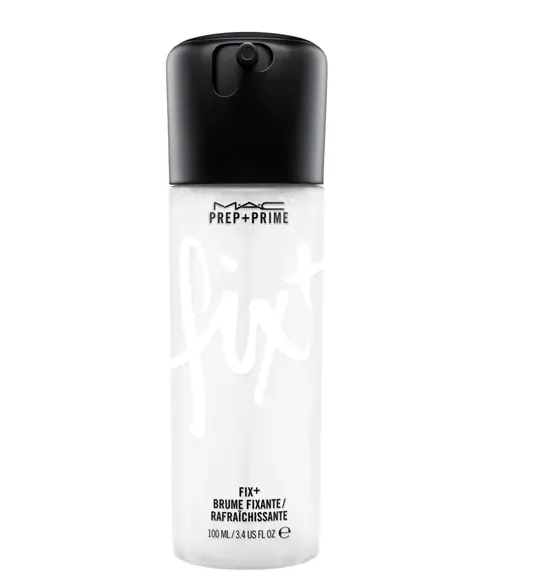
Formulated to lock-in your base – setting spray has a multitude of uses and can be kept on hand to refresh your skin throughout the day re-activate your makeup. While both products are similar, essentially, they’re like facial mists but formulated with specific ingredients that help preserve or boost the masterpiece you’ve just created on your face.
Try: MAC Comsetics PREP + PRIME FIX + ($36; at maccosmetics.com.au)
RELATED: 10 Make-Up Setting Sprays That Are Worth The Hype
